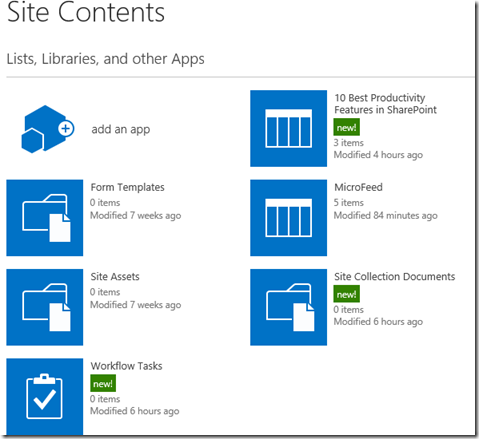
The default sitepage in SharePoint 2013 site contains Tiles but if you want to create custom tile in your site page then follow the steps described in this post. The default SharePoint 2013 site tiles looks as below
You can remove the above tile using remove this link and create your own tiles, To create your own tile you need to use a new list template called “Promoted Linksâ€. This list template allows you to add link that promoted as Tiles. After adding your favourite links to this list then you can add this list view web part it to the page.
1. Navigate to SharePoint 2013 site contents link and click on “Add an Appâ€
2. Create a new list by selecting “Promoted Links†list template
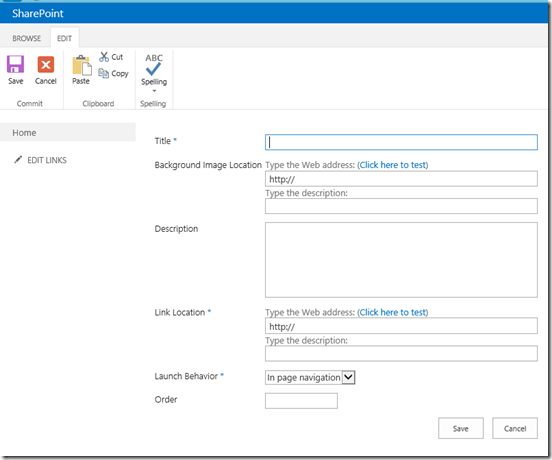
3. After creating the list click new item to add a new link and details about the link as below
You can give the title, description and image URL for the tile using above dialogue box
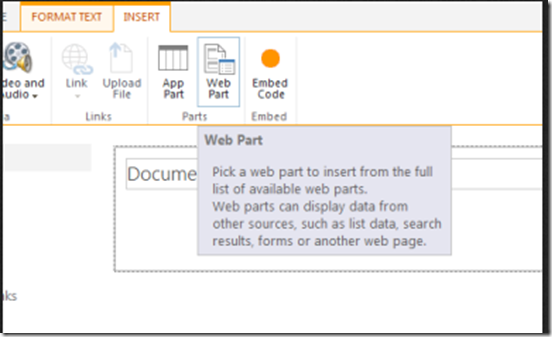
4. After adding few items to list, navigate to the page where you want to add the tiles and add a web part
5. After adding the list to the page then tile on your page looks as below


