This post outlines the available storage options in Azure portal , creating blob data and accessing it through Azure storage explorer or using C# code. The code discussed in this post can be downloaded from here 
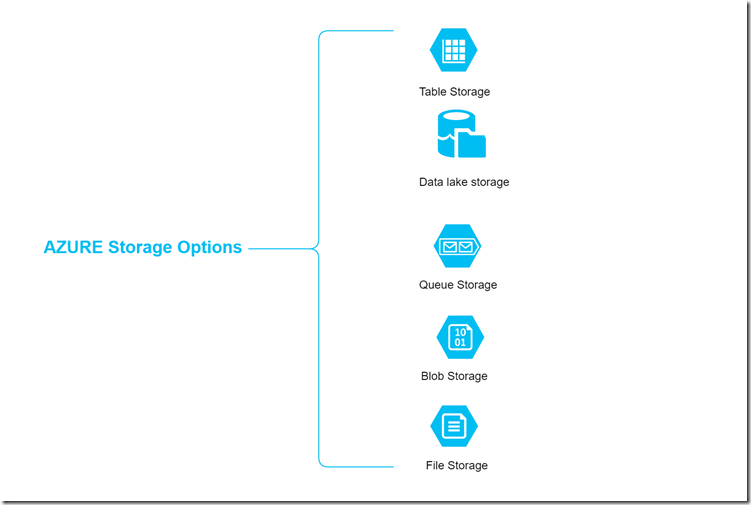
Microsoft offers following storage options
Creating a Storage account in AZURE portal
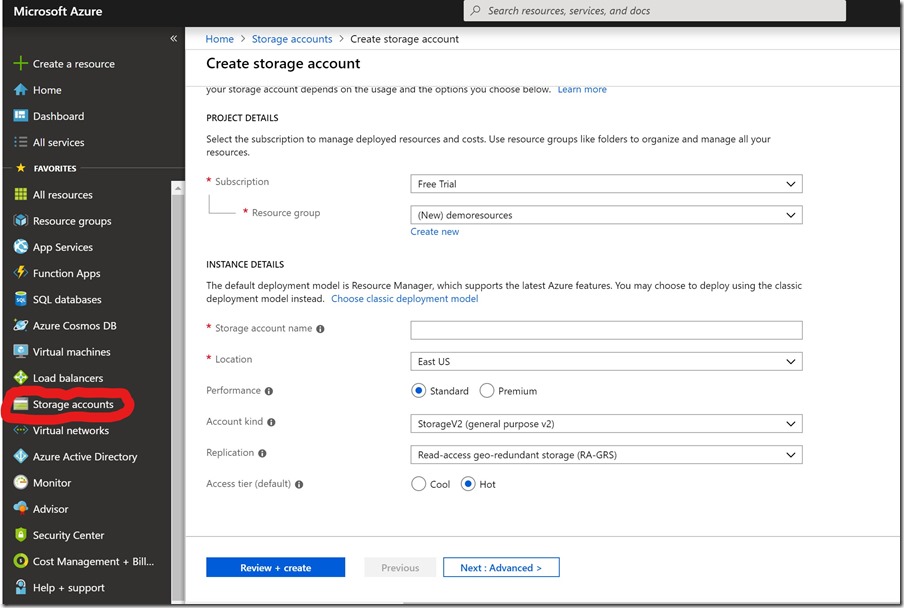
Login to Azure Portal to create a new storage account
Storage account name – The name must be unique and should contain only lower case letters and numbers.
Location – Select the desired data center location. example: East US
Performance – Two options to choose standard vs premium. Choose Standard if your application require bulk-storage or where data is accessed in-frequently. Standard option stores data in magnetic tapes. Choose Premium option if your application involve high-intense I/O operations. Example: data base operations. Premium storage accounts can only be used with Virtual Machine(VM) disks. Premium account stores data in Solid-State drives. You wouldn’t be able to change the performance option for storage account once you select premium.
Account Kind – Select general purpose account kind to store Blobs, Tables , Files and Queues. BlobStorage specifically for Blob data.
StorageV2 option recently added to portal. Difference between Storage and StorageV2 is, you wouldn’t see access tier option when you select storage.
What is access tier? This can only set at Blob data level not account level. You have two options Hot Access tier(for frequently accessed data) and Cool Access tier(for in-frequently accessed data).
Replication – The data in Azure Storage is always replicated for high-availability. Choose a replication strategy based on your durability choice
Creating BLOB Data storage
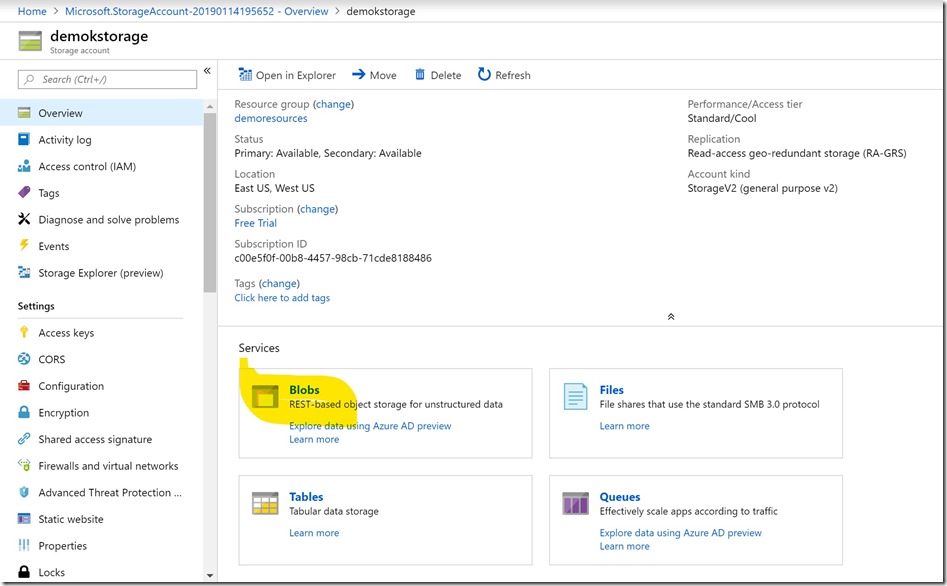
Navigate to storage account that you have created in above step. click BLOB from services
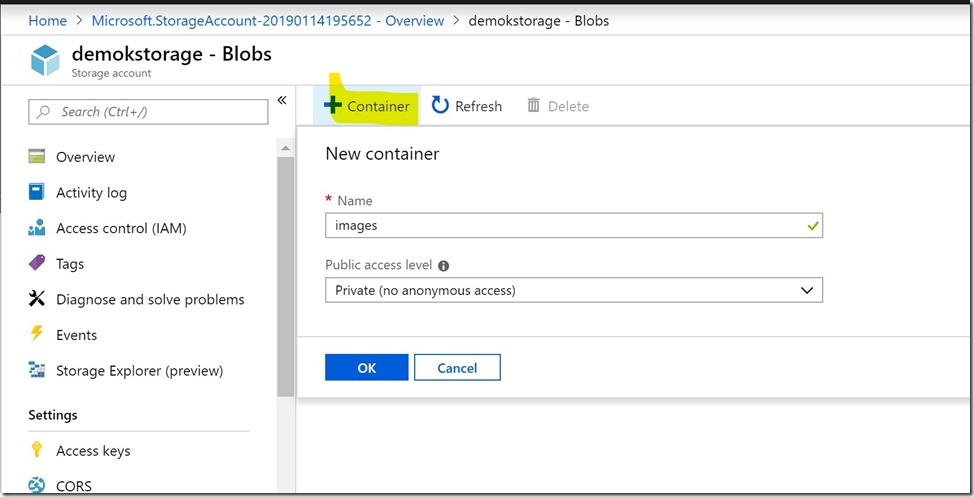
Create a container to store data
How to upload files to BLOB storage account?
Files can be added to BLOB storage using AZURE Storage explorer or through code. First lets upload file using AZURE Storage Explorer.
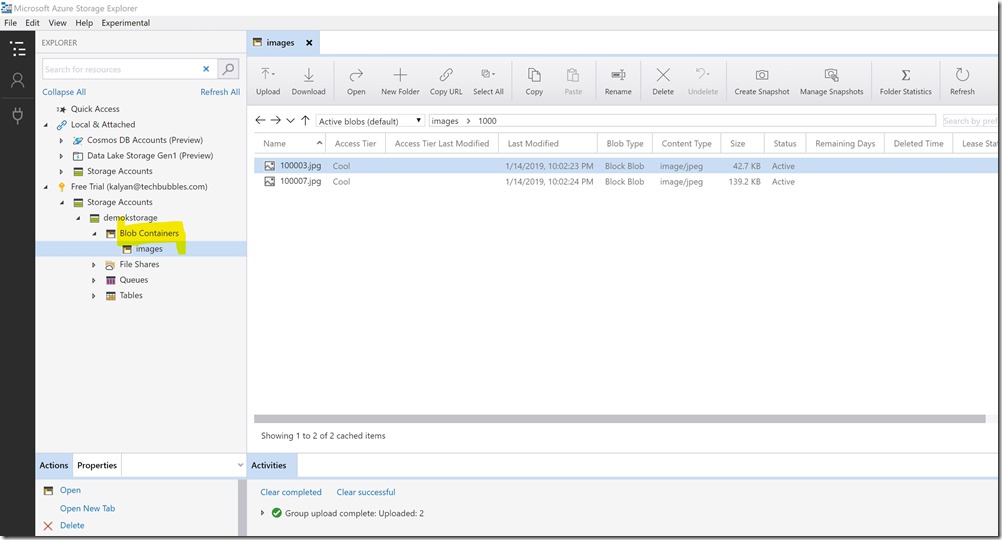
Open storage explorer and login with your azure account credentials and navigate to the BLOB storage account that you have just created.
You can create new folders inside BLOB container and upload files.
Access BLOB storage account files in ASP.NET Core application
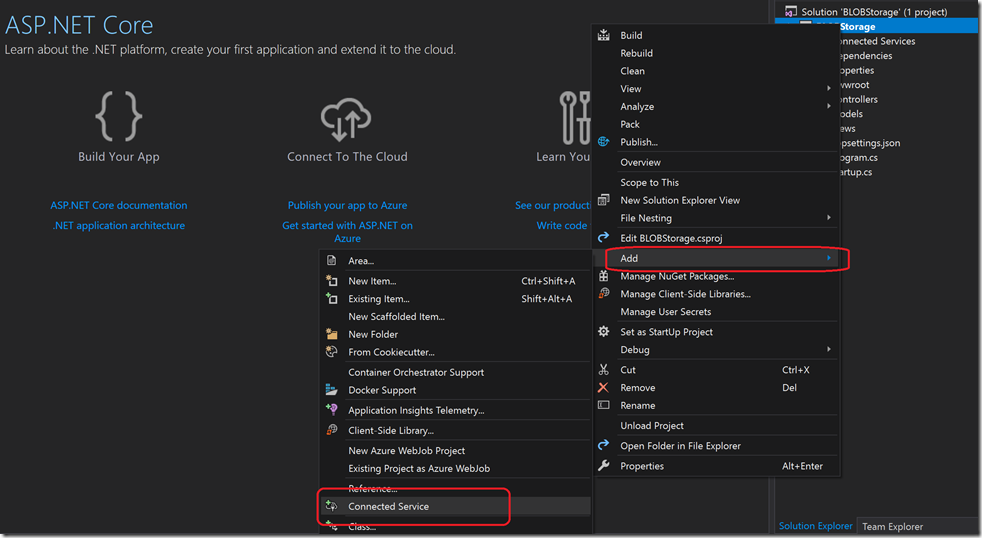
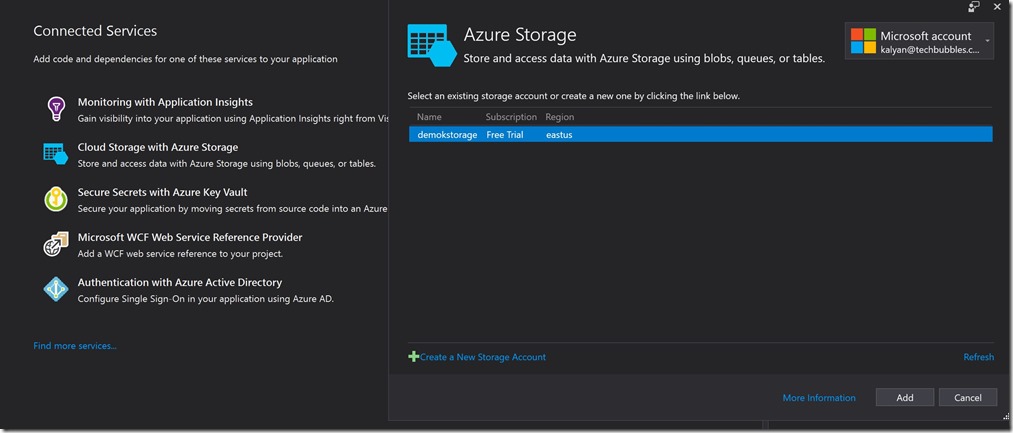
create a asp.net core web application and use connected service to connect to Azure Storage account by right click your project then Add then say Connected Service
It installs all required NuGet package for AZURE Storage and connection string to your appsettings.json file. Following code helps to retrieve all files inside container and display in page.
Display images from BLOB storage
First get the BLOB container reference with below code snippet
List images by using BlobResultSegment reference
How to upload files to Storage account?
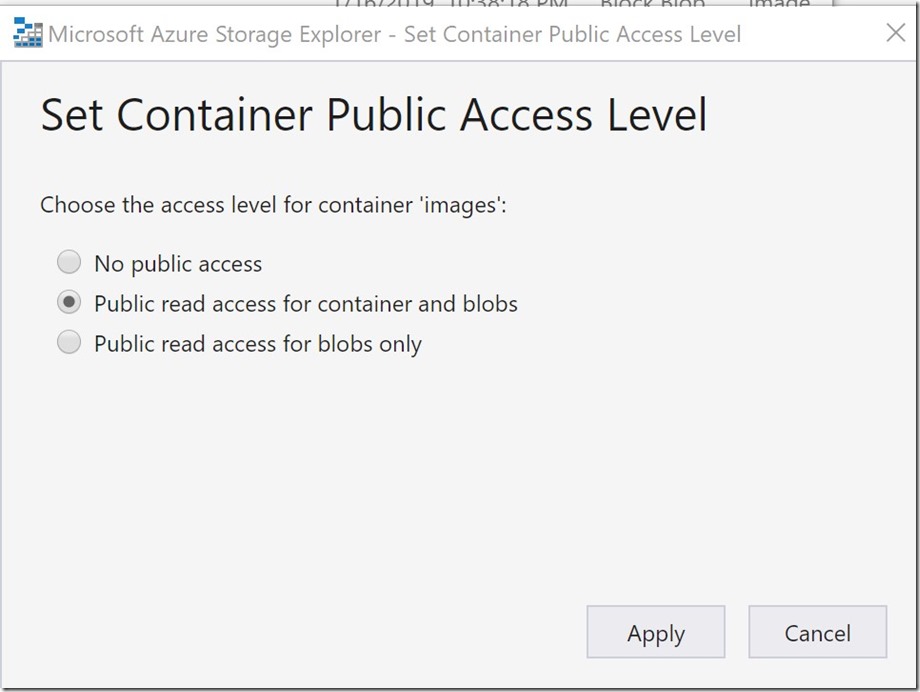
await blobContainer.SetPermissionsAsync
(new BlobContainerPermissions
{ PublicAccess = BlobContainerPublicAccessType.Blob });

